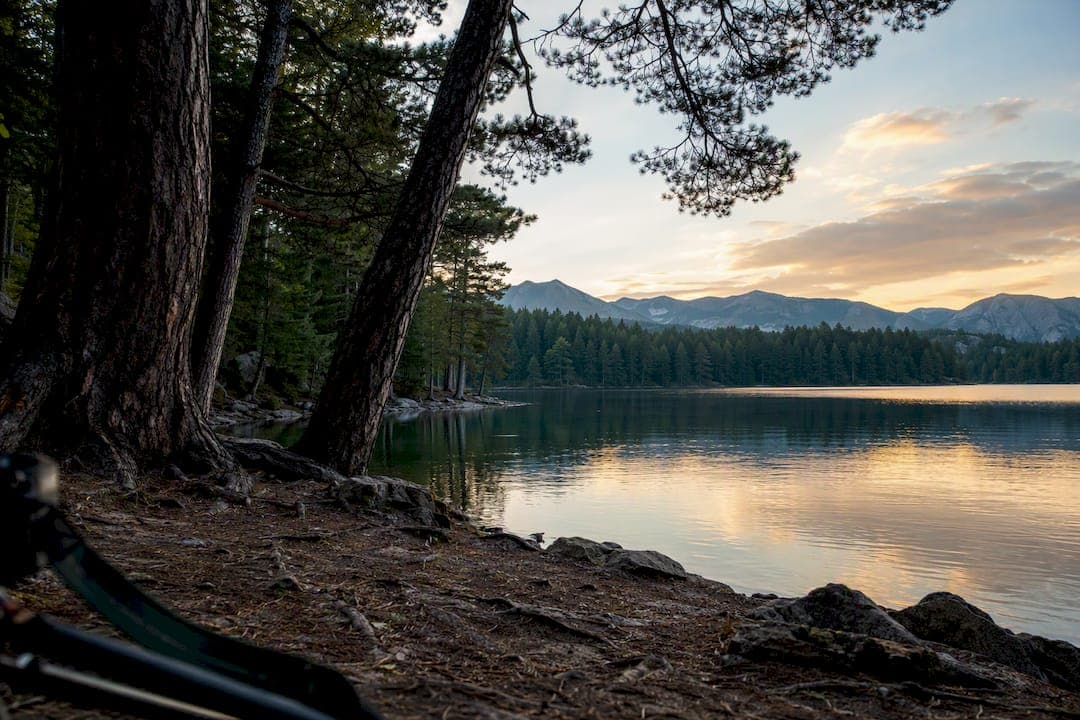
Mount a tripod, fit a polariser, and let the water or open clearing become your light source rather than fighting the trees for it. Start at a moderate aperture around f/8 for depth of field in daylight forest scenes, then slow the shutter to somewhere between 0.5 and 5 seconds for silk on moving water. Everything else in this guide, from scouting to editing, exists to support that one decision, including tips on how to sell nature photos to make your work pay off.
TL;DR:
- Using water or open clearing as a light source enhances forest and lake shots, with a moderate aperture of f/8 and shutter speeds of 0.5 to 5 seconds for silk water.
- Essential gear includes a sturdy tripod, a polariser, an ND filter, and at least two lenses to capture both wide vistas and details, especially in changing weather.
- Composition benefits from simplifying chaos by placing open water behind the camera, using layers and leading lines to guide the viewer's eye through the scene.
- Overcast days offer ideal soft light for reducing harsh shadows and color casts in forests, while golden hour enhances water reflections on open lakes.
- Patience and repeated visits under different conditions improve results, with staying on-site and planning around weather and seasons key to capturing optimal images.
Table of Contents
- Field checklist for fotografera skog och sjö: kit, settings, quick wins
- How do you compose forest and lake shots without visual clutter?
- What's the best light for forest and lake photography?
- How do you get silky water with the right shutter speed?
- Which lenses and accessories actually earn their place in your bag?
- How do you plan a forest and lake shoot before you arrive?
- Fixing the common problems: colour cast, focus, and finish
- Field notes: what actually changes when you stay on-site
- What safety and environmental precautions matter most?
- How do you photograph wildlife in forest and lake settings?
- How does weather change your approach to forest and lake photography?
- How do the seasons change what you should shoot?
- A short word on patience
- Where to base yourself for repeated forest and lake shoots
- Sources
Field checklist for fotografera skog och sjö: kit, settings, quick wins
Before the light changes, run through this:
- Tripod — non-negotiable for long exposures and for holding a composition steady while you fine-tune it.
- Polariser — cuts glare on wet leaves and controls how much of the lake bed shows through the surface.
- ND filter — lets you shoot silky water even at midday.
- Remote release or self-timer — removes shake from pressing the shutter.
- Two lenses minimum — a wide angle for the scene, something longer for isolating detail.
- Microfibre cloth — mist and spray ruin more shots than bad light does.
Three starting points: overcast forest at f/8 with a moderate shutter speed and ISO 200. Dawn lake reflections at f/11 with a faster shutter speed and ISO 100. Silk-water long exposure at f/11 with a longer shutter speed and ISO 100 using an ND filter. Arrive early, give yourself 10 to 20 minutes to scout before committing to a spot, clear obvious clutter from the foreground, and check a test exposure on the histogram before you settle in.
How do you compose forest and lake shots without visual clutter?
Woodland is naturally chaotic. The fix isn't a wider lens, it's deliberate simplification.
Put the open water or a clearing behind the camera position rather than in front of it. That helps soften the light hitting your subject and prevents bright gaps in the trees from blowing out your exposure. From there, build in layers: something tactile in the foreground (moss, a root, a scatter of stones), your main subject or the water in the midground, and the tree line holding the background together. Leading lines, a fallen trunk, a shoreline curve, a path between pines, pull the eye through those layers instead of leaving it to wander.
- Use a telephoto lens to isolate a single trunk, a patch of fern, or a reflection instead of capturing the entire wood at once.
- Lean on negative space, a patch of still water or open sky, to give a busy scene somewhere to breathe.
- Choose orientation by subject behaviour: vertical for a waterfall or a single tall trunk, horizontal for a wide reflection or a tree line along a shore.
- Walk the shot before you shoot it. A Tiveden workshop group typically spends more time repositioning than shooting, and it shows in the results.
Pro Tip: Shoot the same composition twice, once wide to show the place and once tight to isolate the best part of it. You will almost always keep the tight version.
What's the best light for forest and lake photography?
Overcast days are underrated. Soft, even light reduces harsh shadow on bark and leaf litter, and it noticeably limits the green colour cast that plagues forest interiors shot in direct sun. Save hard, directional light for when you want drama, backlighting through mist or low sun raking across a lake surface.
Fog and mist add depth for free, separating tree layers that would otherwise flatten into a wall of green. Golden hour still earns its reputation on open water, where warm light turns a still lake into a mirror. For night work, check the lunar phase before you commit to a date; a bright moon washes out fainter stars.
- A polariser cuts reflections and glare on wet foliage, but rotate it off, or remove it, when you actually want the lake's reflection to show.
- Bracket exposures in mixed light, tree canopy against open sky is a genuine dynamic range problem.
- Protect your highlights first. Recovering shadow detail later is far easier than rescuing a blown sky.
How do you get silky water with the right shutter speed?
Shutter speed is your creative lever on water, not a technical afterthought. Fast shutter speeds around 1/250s freeze spray and texture. Half a second to two seconds gives you motion blur that still shows structure in the flow. Push to 5 to 30 seconds and water turns to silk, though it's worth balancing exposure length carefully; too long and you lose all sense of movement or texture.
- Use an ND filter to hit these shutter speeds without overexposing in daylight.
- Keep ISO as low as your light allows, then use mirror lock-up or a remote release to kill vibration.
- Watch exposure compensation closely; bright water surrounded by dark rock fools most metering systems.
- Stack several exposures, or focus-stack, when depth of field alone can't hold both a close foreground rock and a distant tree line sharp.
A tripod plus f/8 is the standard starting combination for landscape work generally, and it holds just as true beside moving water. Don't settle on the first shutter speed you try. Run through three or four options and check each on the histogram before moving on.
Which lenses and accessories actually earn their place in your bag?
A wide angle in the moderate focal length range covers open vistas and starfields; something longer like a telephoto lens isolates forest details a wide shot often misses. Between the two, you'll cover most scenes you find.
- A sturdy tripod with a low centre of gravity and a reliable head matters more than any lens upgrade; flimsy kit tripods flex during long exposures and soften otherwise sharp shots.
- Pack a polariser and an ND filter together, they solve different problems and you'll often want both in the same session.
- Weather protection, a simple rain cover or dry bag, and spare batteries matter more in cold, damp forest air than most people expect; batteries drain faster near water and at dawn temperatures.
How do you plan a forest and lake shoot before you arrive?
Good shoots start the night before, not at sunrise.
- Study satellite maps to find where open water meets tree cover, then plan your approach route and check footing, wet rock and soft ground near shorelines catch people out.
- Check moon phase, sunrise and sunset times, and a light-pollution map if you're planning to fota stjärnhimmel after dark.
- Pack for comfort as much as for the camera: warm layers, waterproofs, food, spare lens cloths, and extra batteries. A proper clothing plan makes the difference between leaving after twenty minutes and staying for the whole light show.
- Move carefully. Avoid trampling moss, stay on established paths where they exist, and treat access rules and private land boundaries as fixed, not flexible.
Fixing the common problems: colour cast, focus, and finish
Most forest shots need one correction and one decision, not a full edit from scratch.
- Green colour casts respond well to a tint or hue adjustment in Lightroom or Camera Raw; nudging the tint slider slightly toward magenta neutralises the cast that overcast canopy light often leaves behind.
- When aperture alone can't hold a close foreground and a distant background sharp, shoot several frames at incrementally shifted focus points from a locked tripod position, then merge them in post; it solves depth problems no single f-stop can.
- For water shots, blend exposures selectively: protect highlights in the bright water, hold texture in the midtones, and dodge or burn by hand to bring back the sense of depth a single exposure flattens.
- On high-ISO night shots, balance noise reduction against sharpening; over-correct either one and stars start looking like smudges instead of points of light.
Field notes: what actually changes when you stay on-site
Staying somewhere with direct forest and lake access changes the math of a shoot completely. Instead of one dawn attempt, you get three or four mornings to test the same composition under different light, which is how most of the strongest frames actually happen.
Simple habits help more than expensive gear: physically clearing small sticks and leaf litter from a frame beats hours of cloning later, and keeping a flask of something hot on hand is the difference between packing up early and staying for the shot that only arrives twenty minutes after you were ready to leave. Guided practice, of the kind offered on Tiveden-style workshops, sharpens this instinct faster than working it out alone.
What safety and environmental precautions matter most?
Water and low light are the two real risks in this kind of photography, and both are manageable with basic caution.
Wet rock near a shoreline is more slippery than it looks, especially at dawn when dew hasn't burned off yet. Test your footing before committing your full weight, and keep at least one hand free rather than carrying a full kit bag on both shoulders. Headtorches earn their place for the walk in and out, not just for exposure checks once you're set up; forest paths lose all definition once the sun is properly down.
Environmentally, the damage photographers cause is rarely dramatic, it's cumulative. Repeated foot traffic off-path compacts soil and crushes moss that takes years to recover, and disturbing nesting birds or denning animals for a better angle isn't worth the frame. Stick to established paths, as covered in most guidance on low-impact forest movement, and treat any wildlife encounter as something to observe from where you are rather than to approach.
How do you photograph wildlife in forest and lake settings?
Patience beats gear here, though the right lens helps. A 70 to 200mm or longer telephoto lets you keep genuine distance from deer, waterfowl, or anything else that would otherwise bolt at your approach, which matters both for the shot and for the animal's stress levels.
Water margins at dawn and dusk are where most wildlife activity concentrates, deer coming down to drink, herons working the shallows, so position yourself near likely access points and wait rather than walk the shoreline hoping to stumble onto something. Shutter speed needs rethinking here too: 1/500s or faster freezes movement, which matters more for a bird taking flight than it does for a static landscape. Keep ISO flexible rather than fixed low, a sharp frame at ISO 800 beats a blurred one at ISO 100.
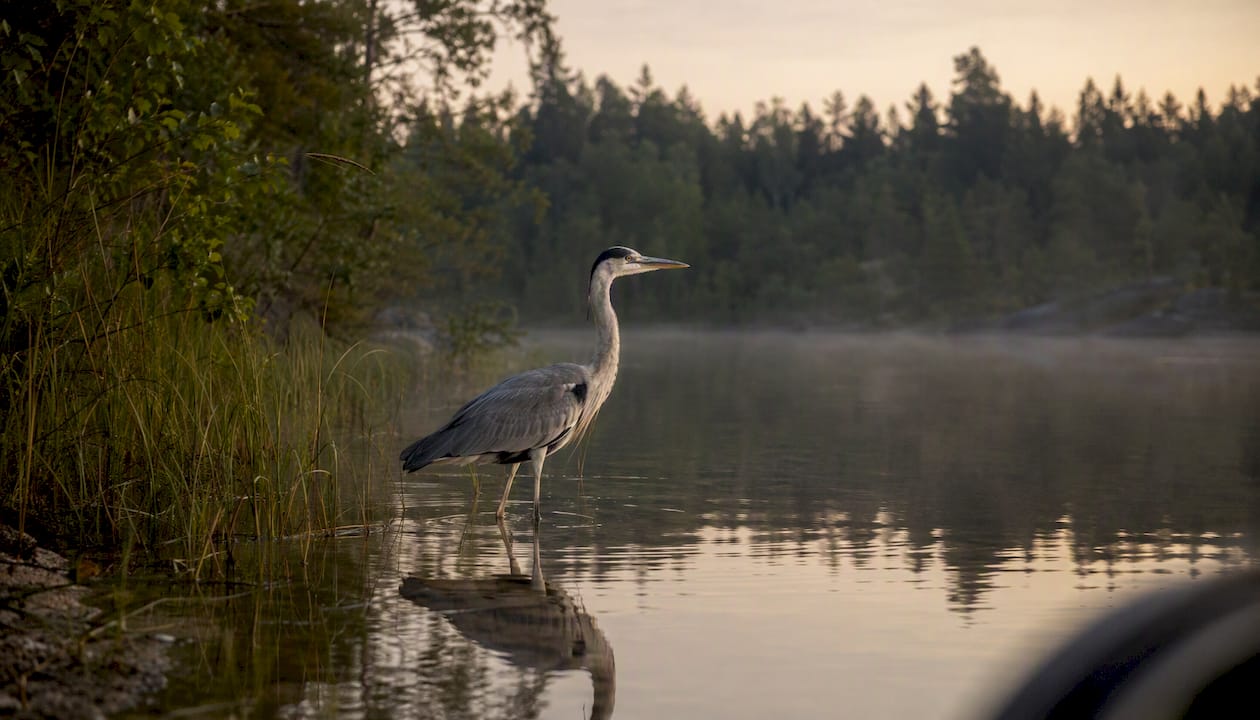
Silence and stillness do more work than camouflage. Set up early, switch off anything that beeps, and let the scene come to you instead of chasing it through the trees.
How does weather change your approach to forest and lake photography?
Weather isn't an obstacle to work around, it's the variable that decides what kind of shot is even possible on a given day.
Rain, handled well, is one of the best conditions going: wet bark deepens in colour, leaves gain contrast, and a light drizzle can add atmosphere without ruining a session, provided your gear is protected. Heavy wind is the harder problem, it blurs foliage during longer exposures and makes water surfaces choppy rather than mirror-still, so wind often forces a choice between a faster shutter speed for sharp leaves or accepting motion in exchange for a longer exposure elsewhere in the frame.
Fog transforms a forest more than almost any other condition, adding genuine depth and separating tree layers that flatten together in clear air, but it also cuts visibility and changes fast, so plan short bursts of shooting rather than a single long session. Clear, bright days are the trickiest for forest interiors specifically, since dappled light creates harsh contrast that's difficult to expose for. On lakes, that same bright sun is often a gift for reflections, so the same weather can help one subject and hinder another within the same session.
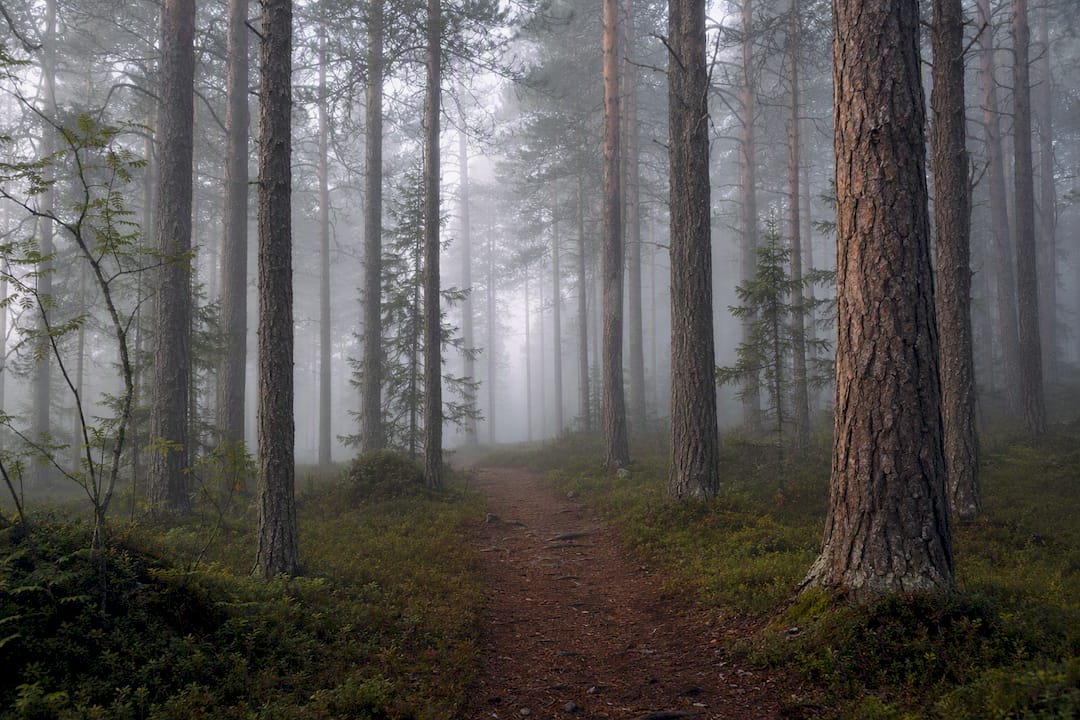
Check conditions the night before and again at first light, forecasts shift quickly near water and tree cover.
How do the seasons change what you should shoot?
Each season hands you a different set of problems and a different set of gifts, and forest and lake scenes respond to that shift more visibly than most subjects.
Spring brings fresh, lighter greens and higher water levels from melt, good for waterfall and stream work, though the canopy is often thin enough that light floods in unevenly. Summer's dense canopy creates the deepest shade and the strongest case for overcast shooting days, since direct sun punches through gaps and creates contrast that's hard to balance. Autumn is the obvious favourite for colour, but it's also the season with the shortest window, peak colour rarely holds for more than two or three weeks depending on the region, so scouting ahead of time matters more here than in any other season.
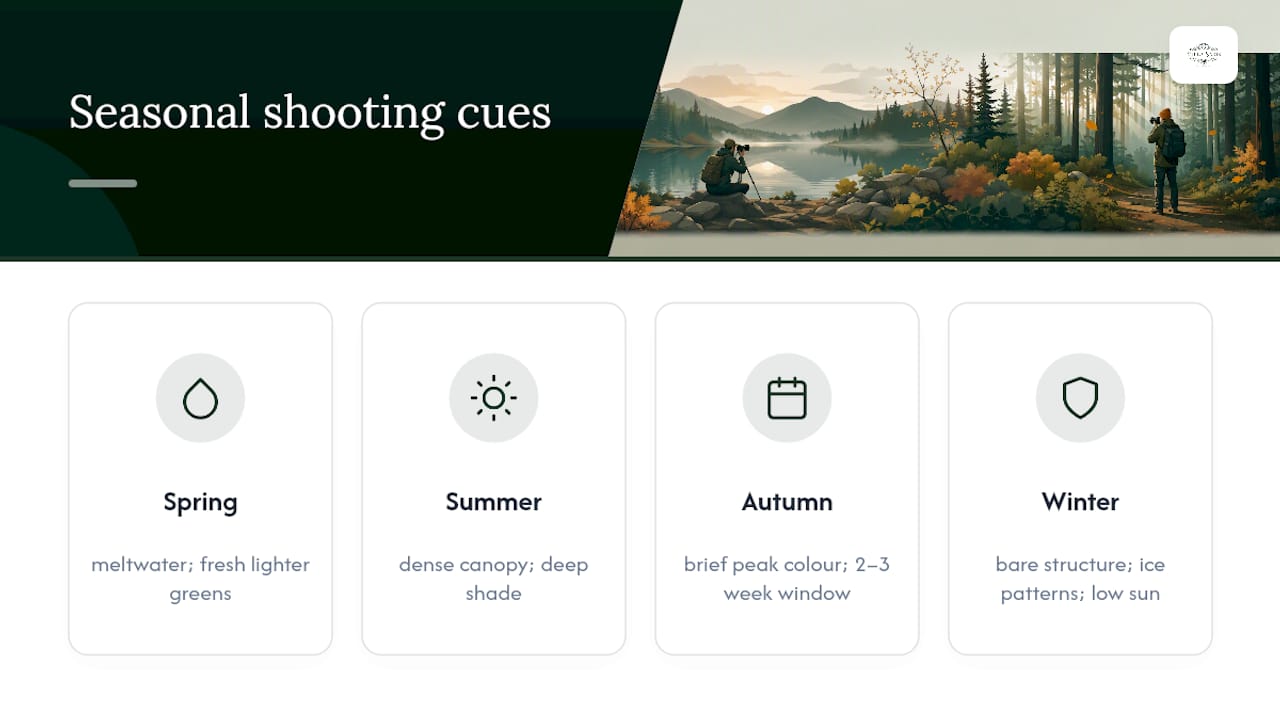
Winter strips the scene back to structure, bare branches, ice patterns on still water, low raking light for most of the day, and it rewards photographers willing to work in genuinely uncomfortable conditions. Lakes freeze unevenly, so check ice safety before walking anywhere near a shoreline in cold months. Each season also shifts your best shooting hours, winter's low sun angle means golden hour light can last for most of a short day, while summer compresses that soft light into a narrow window either side of sunrise and sunset.
A short word on patience
The same clearing looks entirely different across four mornings of shifting light and weather. Return to it. Photograph less, watch more, and leave the ground exactly as you found it.
— Christian
Where to base yourself for repeated forest and lake shoots
A single dawn attempt rarely produces your best frame, repetition does, and that's where a stay at Villa Sakis genuinely earns its place in this conversation. The farmhouse sits with direct access to both lake and forest, so you can test a composition across several mornings without a long drive eating into your light window each time.

Guests staying on the private grounds benefit from quiet, uninterrupted dawns and the kind of stillness that makes wildlife more visible and long exposures easier to plan around. The house itself is set up for exactly this pace of stay, comfortable enough to retreat to between sessions, warm enough to dry out gear after a wet morning by the water. If you're planning an extended shoot rather than a single outing, the practical logistics of a stay are worth reading through in the Villa Sakis journal before you go. Check dates and book directly through Villa Sakis if a slower, repeat-visit approach to forest and lake photography sounds like the one you've been missing.
Sources
- 7 Scandinavian landscape shooting tips for amateur photographers
- Cloudy and overcast day photography
- Vattenfall i skogsmiljö – Naturfotografi med lång exponering — Johan Lennartsson