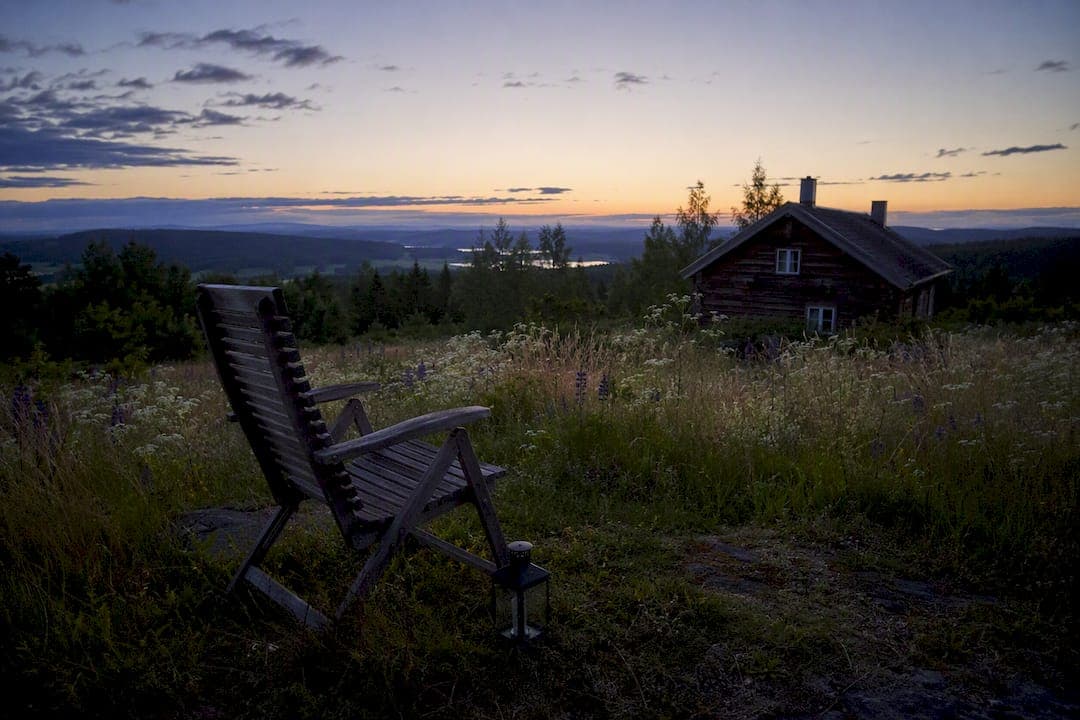
A dark countryside site, a moon-free night, and a few minutes of preparation are the three things that turn an ordinary evening into a memorable session of stjärnskådning på landet. Rural stargazing depends on distance from artificial light more than any piece of equipment, and the routine that follows is easy to repeat every clear night.
Before you head out tonight, do this:
- Choose the darkest site within reach, ideally a field, lakeshore, or forest clearing away from road glow.
- Time your trip near the new moon and give your eyes twenty minutes to adjust before judging what you can see.
- Pack warm layers, a mat or low chair, a torch fitted with a red filter, and a pair of binoculars.
TL;DR:
- A dark site with a clear horizon and away from town glow greatly enhances the view of faint stars and the Milky Way.
- Visiting during the new moon and near midnight provides the best conditions for faint detail visibility.
- Starting with binoculars and free apps helps beginners learn the sky more effectively than immediately buying a telescope.
- Proper layering and a warm base like a rural stay prevent cold from ending sessions early, especially in winter’s long nights.
- Staying overnight at a private rural location with facilities allows extended, comfortable stargazing without the distraction of long drives home.
Table of Contents
- How to find a good dark-sky spot in the countryside
- When is the best time to go stargazing in rural areas?
- What equipment and apps actually help you see more?
- How to stay warm and comfortable during a late-night session
- Why a countryside stay makes stargazing easier
- What matters most for a good night under the stars
- Planning a stargazing stay at Villa Sakis
- Key Takeaways
- Sources
How to find a good dark-sky spot in the countryside
Light pollution is the single biggest obstacle to seeing anything beyond the brightest stars, and it travels further than most people expect. Town glow can wash out a sky ten or fifteen kilometres away, so the first step is checking a light-pollution map and picking a spot that sits comfortably outside that halo, away from busy road corridors where headlights sweep the horizon every few minutes.
A clear horizon matters almost as much as darkness itself. Meadows, open lakeshores, and low ridgelines give you an unbroken sweep of sky, whereas a garden hemmed in by trees or buildings will only ever show you a narrow slice of it.
- Check a light-pollution map beforehand and rule out anywhere within a visible glow of a town or motorway.
- Scout the location in daylight if you can, noting where trees, fences, or gates might block your view or your path.
- Tell someone your plan and expected return time, since rural mobile signal can be patchy.
- Park sensibly and check that your access point is legal and not blocking farm gates or private tracks.
Sweden's right to roam, allemansrätten, gives you generous access to open land, but it comes with an obligation to leave no trace and to stay well clear of private gardens and cultivated fields. Scouting a spot in daylight, as recommended in Utemagasinet's guide to stargazing trips, lets you spot exactly where the horizon is clear and which trees or fence lines will get in your way after dark.
Pro Tip: Walk your chosen spot at dusk rather than full daylight. You will see exactly which lights, whether a distant farm or a passing car, actually reach your viewing patch once the sky starts to darken.
When is the best time to go stargazing in rural areas?
The new moon is your best friend for faint detail, since even a half moon can drown out the Milky Way and dimmer constellations. Aim for the hours either side of local midnight, when the sky reaches its darkest and steadiest point.
Winter offers a particular advantage: long nights and cold, stable air combine to produce unusually sharp views, a pattern Utemagasinet notes as one of the reasons January ranks among the best stargazing months. The trade-off is obvious. You will need serious warmth to stay out long enough to enjoy it, which is precisely where a sheltered rural base earns its keep.
Before committing to a night out:
- Check a cloud cover and "seeing" forecast, since even a perfectly dark site is wasted under haze.
- Look up meteor shower dates and planet visibility windows using a planetarium tool.
- Build in a fallback night, since Swedish weather rarely cooperates on the first attempt.
Clear, cold winter nights consistently outperform milder summer ones for stability of the image, even though summer gives you a warmer wait.
What equipment and apps actually help you see more?
Start with nothing but your eyes. The Planetary Society's beginner guidance is blunt about this: a dark site and patient naked-eye observation produce the most memorable early experiences, and a decent pair of binoculars will do more for you than a cheap telescope ever will.
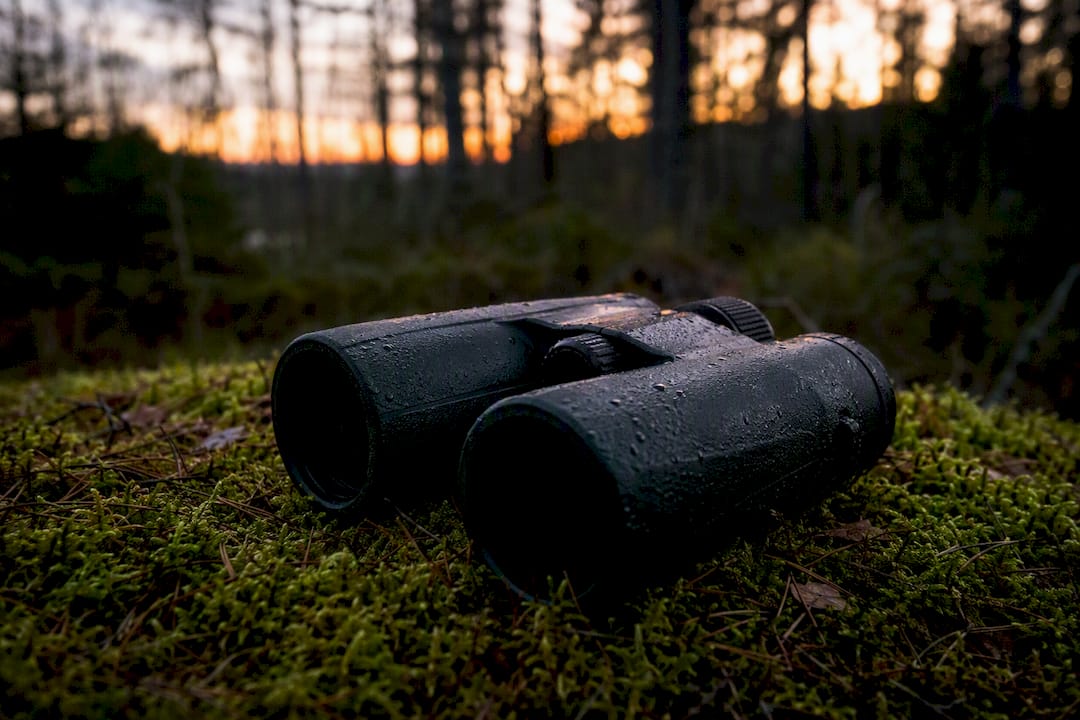
A 7×50 or 10×50 binocular resolves the Moon's craters, Jupiter's four largest moons as pinpricks of light, and the texture of the Milky Way, all for a fraction of a telescope's cost and complexity. If you later want a telescope, a small refractor is simpler to point and maintain, while a reflector of similar price will usually gather more light for viewing fainter deep-sky objects.
For orientation, lean on:
- Stellarium or SkyView to identify exactly what is overhead in real time, both recommended by PopularAstronomi's star chart resources.
- Star Walk or Heavens Above for tracking satellite passes and planning around bright planet apparitions.
- A printed star chart as a battery-free backup for a long night.
Your first targets should be Orion and Karlavagnen (the Plough), both bright enough to find within minutes, followed by Polstjärnan, Sirius, and whichever planets are currently visible, a starter list echoed by Upplandsstiftelsen's guide to reading the night sky.
How to stay warm and comfortable during a late-night session
Cold cuts a stargazing session short faster than cloud cover does, so preparation matters more than most people assume.
- Layer properly: thermal base layer, insulating mid layer, windproof shell, plus a hat and gloves you can still operate binoculars in.
- Bring an insulated mat or a low camping chair, since standing on cold ground drains heat fast, and pack a flask of something warm.
- Use only a red-filtered torch, kept pointed at the ground, so you preserve your own night vision and don't ruin anyone else's.
- Pack out everything you brought in, and stay alert for wildlife moving through the dark, particularly near forest edges.
Practical comfort measures, from proper layering to letting your eyes fully adapt, extend how long you can comfortably stay out, as Starmate's stargazing guide points out. Past a certain point in a Swedish winter, though, no amount of layering beats a warm building nearby. When the drive home is an hour of dark roads after midnight, an overnight stay close to your viewing spot is usually the better decision.
Why a countryside stay makes stargazing easier
Staying on private rural grounds removes the two biggest obstacles to a good session: nearby light sources and the pressure of a long drive home. You can step outside, observe for as long as the sky cooperates, and go back inside to warm up without losing the night.
Villa Sakis, an eighteenth-century log farmhouse set among meadow and forest in Bergslagen, works well as that kind of base. Guests get:
- Private grounds with a clear meadow horizon, away from any town glow.
- A wood-fired sauna and full kitchen, useful for warming up between observing stints.
- Direct forest and lake access for scouting a clear sightline in daylight before the first night out.
A calm rural stay with proper shelter and warmth turns a cold winter night under the stars from something you endure into something you actually look forward to.
Arrive with an hour of daylight left if you can. Walking the property lets you mark the clearest patch of meadow before darkness makes that judgement much harder, a habit backed by the Swedish countryside planning guidance Villa Sakis shares with guests.
What matters most for a good night under the stars
Most advice on this subject overcomplicates the early stages. Forums and gear guides push beginners towards telescopes before they have spent a single night learning the sky with their own eyes, and that is the wrong order. A telescope narrows your field of view to a tiny patch of sky you don't yet know how to find. Binoculars and patience teach you the map first.
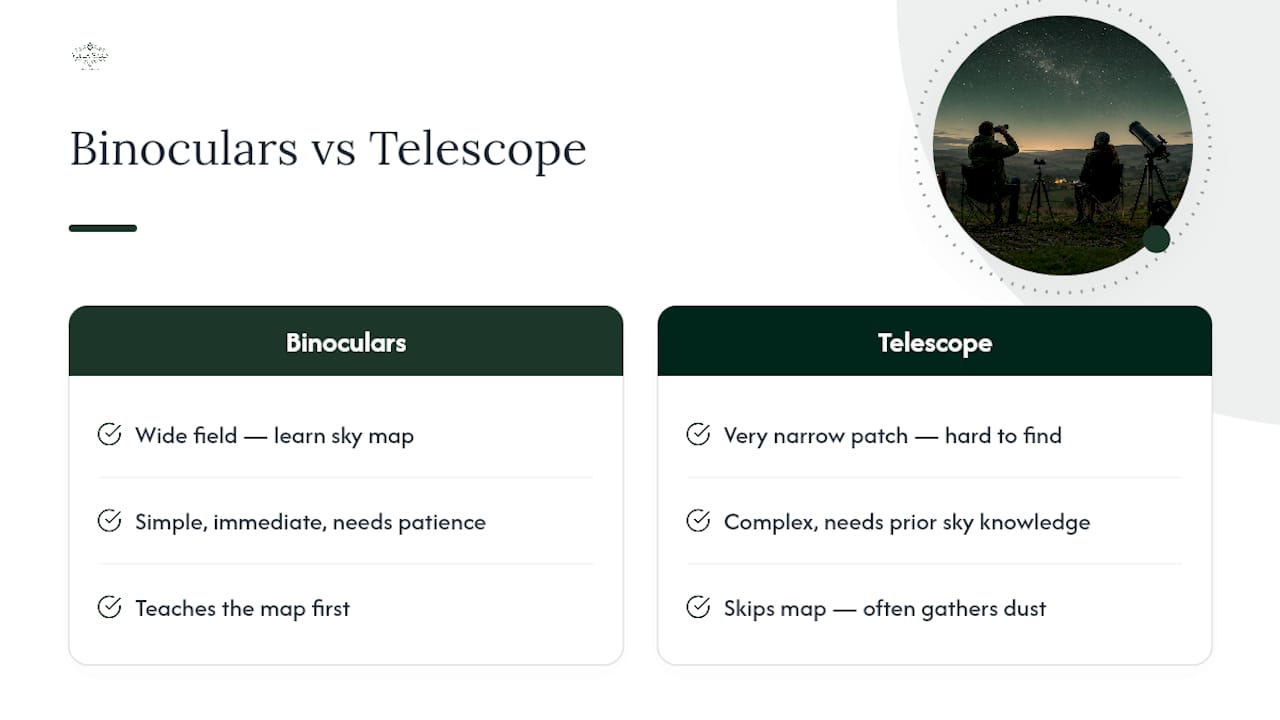
The conventional wisdom also underrates logistics. Endless articles cover moon phases and constellation charts, and far fewer address the practical problem of standing still in a Swedish field at minus five degrees for two hours. Cold, not cloud cover, ends more sessions early than anything else.
If you take one thing from this guide, prioritise the site and the warmth before the kit. A dark meadow, a flask of something hot, and a warm building within walking distance will teach you more about the sky in one winter than a telescope gathering dust in a cupboard ever will.
— Christian
Planning a stargazing stay at Villa Sakis
Villa Sakis solves the two problems that end most rural stargazing trips early: nowhere warm nearby, and the long drive home once you finally get cold. Booking the whole farmhouse gives you a private meadow horizon, a sauna to thaw out in between sessions, and a self-catering kitchen for hot drinks at midnight, all without sharing grounds with other groups.

It suits small groups and couples best, anyone who wants a genuinely dark, undisturbed base rather than a hotel car park with a view of a bypass. Before you go, check the house's rooms and sauna details and the grounds and surrounding area to plan where you will set up, and use the packing checklist for a countryside stay so you arrive with the right layers already sorted. If you want to fold in a meal before your night session, guidance on pairing lodging with good food is worth a look too. Check available dates and book your stay directly on the Villa Sakis website.
Key Takeaways
Dark skies, a new moon, and simple warm-weather preparation matter more to a successful stargazing night than any telescope you could buy.
| Point | Details |
|---|---|
| Pick the darkest site | Use a light-pollution map and choose a spot with a clear horizon, away from town glow and road corridors. |
| Time it around the new moon | Faint stars and the Milky Way show best near midnight in the days around the new moon. |
| Start with binoculars, not a telescope | A 7×50 or 10×50 binocular and apps like Stellarium or SkyView teach you the sky faster than costly kit. |
| Dress for the cold, not the forecast | Layering, an insulated mat, and a red-filtered torch protect comfort and night vision alike. |
| Consider an overnight base | Villa Sakis offers private meadow and forest grounds, a sauna, and a warm kitchen close to a clear dark-sky horizon. |
Sources
- A beginner's guide to stargazing — The Planetary Society
- Ge dig ut på stjärnskådartur — Utemagasinet (2026-01-14)
- Lär dig hitta på stjärnhimlen — Upplandsstiftelsen (2024)
- Stjärnkarta — PopularAstronomi