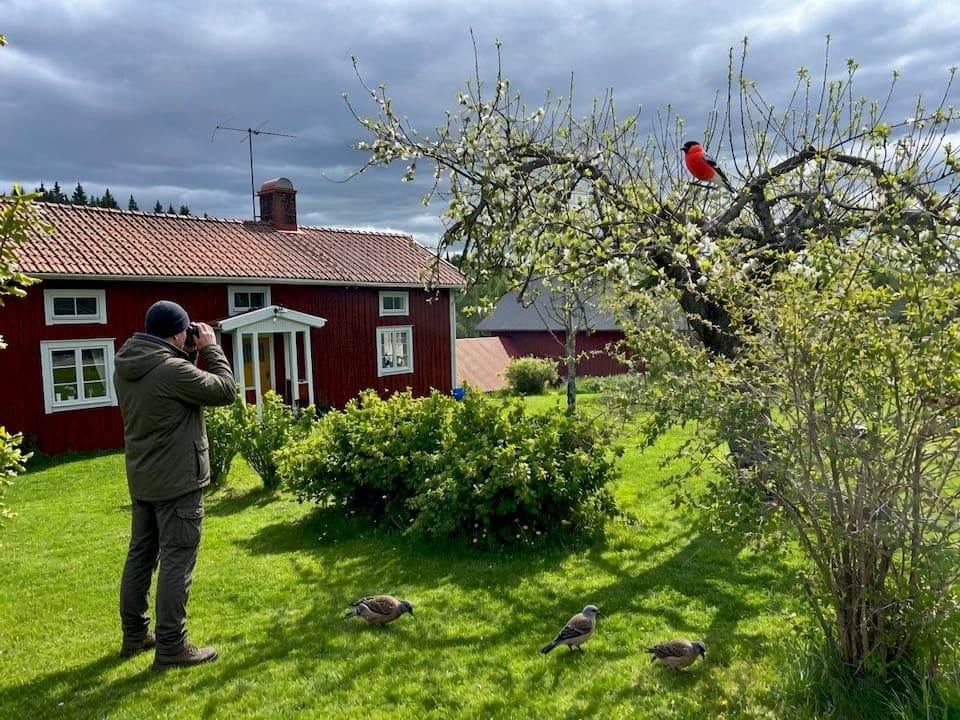
To start birdwatching today, you need three things: a pair of binoculars (8×42 is the recommended spec for beginners), a field guide or the free Merlin Bird ID app on your phone, and a five-to-20-minute daily routine. That is genuinely all. Before this evening you can step outside, find a local park or garden, set a few minutes aside, and begin noticing what is already there.
Your three essentials:
-
Binoculars: An 8×42 model gives you a wide field of view and a bright, stable image, which matters enormously when a bird moves fast through branches.
-
Field guide or app: The Collins Bird Guide is the standard UK reference; Merlin Bird ID (free, from Cornell Lab) is the fastest way to start identifying by sight and sound.
-
A short daily routine: Short daily sessions of focused observation build recognition faster than a single long weekend outing.
Two things to do before tonight ends: Download Merlin Bird ID and open its Sound ID feature in your garden or near an open window. Then pick one local green space for tomorrow morning and commit to arriving at dawn or shortly after.
Key takeaways
Birdwatching for beginners works best when you start local, keep sessions short, and use a field guide or app from the very first outing.
| Point | Details |
|---|---|
| Start with three essentials | Binoculars (8×42), Merlin Bird ID or Collins Bird Guide, and a daily five-to-20-minute routine. |
| Prefer 8×42 binoculars | They offer a wider field of view and steadier hand-held image than 10×42 for most UK habitats. |
| Use sound as a primary cue | Merlin Sound ID and daily listening sessions build ear recognition faster than visual study alone. |
| Join a local group early | Guided walks and study circles compress months of solo learning into a few outings. |
| Record every outing | Submitting checklists to BirdTrack or eBird reinforces learning and contributes to conservation science. |
Useful resources to explore next
-
RSPB — the Royal Society for the Protection of Birds runs a reserve finder, a beginner’s identification guide, and a local groups directory. Start with their “Birds A–Z” section.
-
BTO / BirdTrack — the British Trust for Ornithology manages BirdTrack, the UK’s primary citizen-science recording portal. Register free and submit your first checklist within minutes.
-
Merlin Bird ID — free app from Cornell Lab; download the British Isles species pack and use Sound ID from your first session.
-
eBird — log sightings, explore local hotspot maps, and check recent records before visiting a new site.
-
Collins Bird Guide — the standard printed reference for UK and European species; the pocket edition is practical in the field.
-
BirdLife International — the global authority on bird conservation and ethical watching guidelines; their disturbance-avoidance guidance is the basis for UK fieldcraft ethics.
-
Artportalen — Scandinavia’s primary observation portal, useful for readers planning a birdwatching stay in Sweden; equivalent in function to BirdTrack for UK records.
-
Adventures by Matt — wildlife birdwatching — practical inspiration for beginners thinking about wildlife-focused travel and guided birdwatching experiences.
Table of Contents
-
How do you actually begin birdwatching as a complete beginner?
-
What kit do you actually need? Binoculars, guides and apps for beginners
-
How do local clubs and citizen science help you learn faster?
How do you actually begin birdwatching as a complete beginner?
The most common mistake is waiting until you have the “right” equipment or the “right” location. Start local. A balcony, a garden, a small urban park — these are ideal training grounds precisely because the species are familiar, the light is manageable, and you can return to the same spot repeatedly. Repetition is what builds recognition, not rarity.
A practical session structure looks like this: arrive and settle (give yourself two minutes to be still before scanning); scan slowly from ground level upward; listen first, then look toward the sound; note what you observe in a small notebook or the notes app on your phone; and review your notes against a guide or Merlin when you return home. Each step reinforces the next.
Short, repeated sessions produce faster recognition of common species than a single long weekend outing. Daily five-to-20-minute sits train your eye and ear in a way that occasional marathon walks simply cannot replicate. Think of it as a quiet morning ritual rather than an expedition.
For your notes, record five things: overall size (smaller or larger than a robin?), silhouette (round body, long tail, short bill?), behaviour (hopping, hovering, diving?), habitat (hedgerow, open water, tree canopy?), and any sounds. These five data points will resolve most common-species identifications without needing to see every feather.
What kit do you actually need? Binoculars, guides and apps for beginners
Binoculars are the single most important purchase, and the specification numbers matter more than the brand name at the entry level. The two figures in a spec — say, 8×42 — tell you magnification (8×) and objective lens diameter in millimetres (42mm). For most beginners, an 8×42 is recommended because it offers a wider field of view and a larger exit pupil than a 10×42, making hand-held viewing steadier and brighter in the mixed light of a UK woodland or hedgerow. A 10×42 suits open coastal or estuary watching where you want more detail at distance, but the narrower field of view makes tracking fast-moving birds harder.
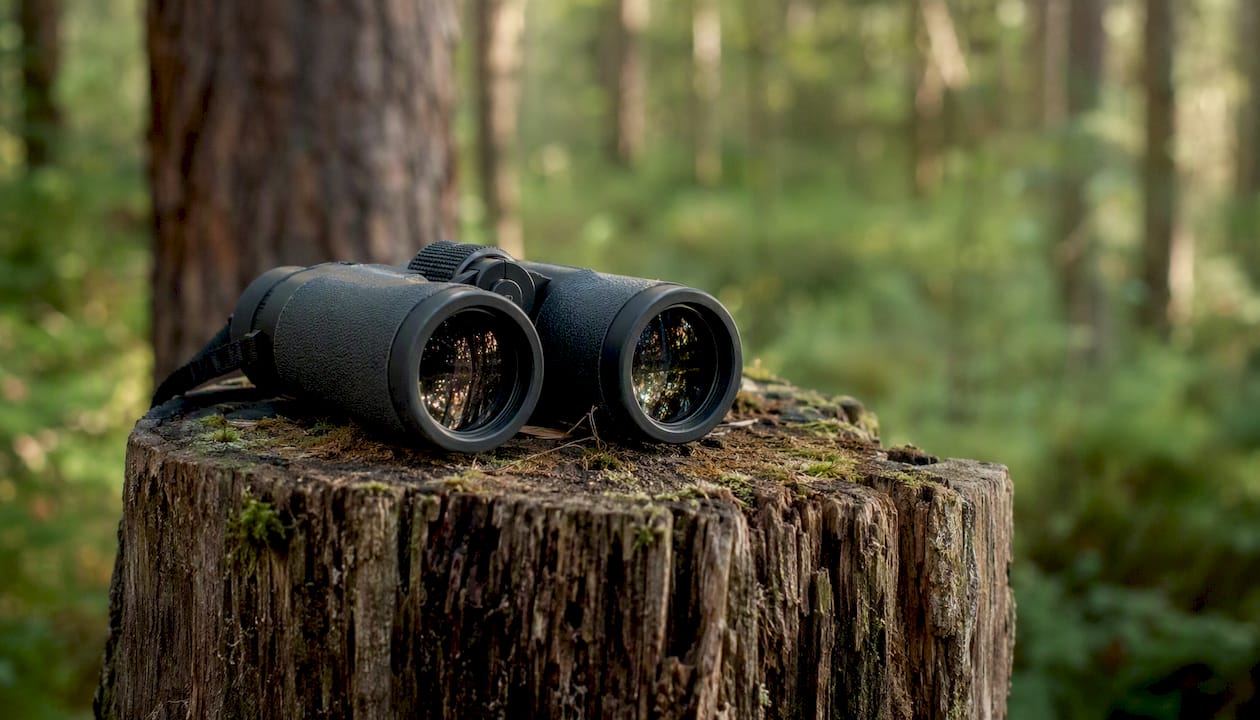
Mid-range binoculars offer the best blend of durability and optical quality for newcomers. If budget is tight, try optics in person at a specialist shop before buying or consider a reputable second-hand pair from a birding society sale. Equipment guides consistently recommend handling binoculars before committing, since eye relief and grip vary considerably between models.
Apps and guides worth knowing:
-
Merlin Bird ID (free): sound identification, photo ID, and species packs for the UK. The Sound ID feature is transformative for beginners who hear a bird before they see it.
-
Collins Bird Guide (book): the authoritative UK field guide, covering plumage stages, seasonal variation, and distribution maps. Start with the pocket edition.
-
eBird (free app and website): log your sightings, explore local hotspot maps, and track your growing species list.
-
BirdTrack (BTO): the UK’s primary citizen-science recording portal, run by the British Trust for Ornithology. Simple to use and directly useful to conservation research.
A scope and tripod are worth considering only once you are regularly visiting coastal sites or open estuaries where birds sit at long range. Skip them entirely for your first season.
How do you identify a bird you have never seen before?
Work through a short mental checklist every time you encounter an unfamiliar bird: size and shape first (is it sparrow-sized, pigeon-sized, or larger?), then silhouette (long-tailed, short-necked, upright posture?), then key field marks (wing bars, eye stripe, breast colour), then behaviour (does it wag its tail, creep up tree trunks, or dive repeatedly?), and finally habitat and season (a reed warbler in a car park in January is almost certainly something else).
Sound is often the faster cue. Many experienced birders identify the majority of woodland species by ear before raising their binoculars. Merlin’s Sound ID lets you train your ear passively — open it on a walk and let it log what it hears, then study the results at home. The BTO’s online resources also point beginners toward a realistic progression: common garden and park species first, then wetland and coastal species as skills grow.
Three traps catch most beginners. First, over-relying on a single field mark (“it had a red breast, so it must be a robin”) without checking size or behaviour. Second, assuming the app is always right — Merlin is excellent but not infallible, especially with juvenile or moulting birds. Third, rushing: a bird seen for three seconds and half-identified is better logged as “unidentified warbler” than confidently misnamed.
Pro Tip: Pair silhouette with one distinctive behaviour and one field mark. A bird that bobs its tail repeatedly, has a long tail, and perches on low vegetation is almost certainly a wagtail species — you can narrow it further from colour, but those three cues together are already reliable. This three-point anchor method shortens the learning curve considerably.
Where and when should you go birdwatching in the UK?
Habitat shapes what you see more than geography does. Gardens and parks hold blue tits, great tits, robins, blackbirds, and house sparrows year-round — the ideal starting point. Ponds and lakes bring moorhens, coots, mallards, and in winter, diving ducks. Reedbeds and marshes are where reed buntings, sedge warblers, and bitterns live, though they require patience. Coastal estuaries and mudflats are among the richest birdwatching habitats in Britain, particularly in autumn and winter when waders and wildfowl arrive in large numbers. Woodlands in spring hold the dawn chorus at its most intense.
Timing matters as much as location:
-
Dawn in spring (April–June): the highest songbird activity of the year; the dawn chorus peaks roughly 30–60 minutes before sunrise.
-
Autumn (August–October): migrant passage brings unexpected species to coastal headlands and inland scrub; autumn is particularly valuable for coastal watches.
-
Winter (November–February): garden feeders attract finches and tits in numbers; estuaries hold thousands of waders and wildfowl.
-
Midday in summer: activity drops sharply; this is when most birds rest and are hardest to find.
To find local hotspots, use the RSPB’s reserve finder, the BTO’s BirdTrack site, or eBird’s Explore tool. Checking recent records on local observation portals before a visit dramatically improves your chances of seeing target species, because sightings from the past 48 hours tell you what is actually present. For UK readers, eBird and BirdTrack serve this function; Artportalen covers Scandinavia.
A practical safety note: stick to public rights of way unless you have landowner permission, dress in layers for unpredictable British weather, and tell someone where you are going for early-morning or coastal visits. Muted, earthy colours (olive, brown, grey) reduce disturbance to birds and make you less conspicuous.
How do local clubs and citizen science help you learn faster?
Guided walks and study circles compress months of solo learning into a few outings. An experienced local birder can show you in ten minutes what a field guide takes an hour to convey — the way a bird moves, the exact quality of a call, the micro-habitat where a species reliably appears. Joining a study circle or guided group is one of the most effective routes for novices to improve identification skills and gain access to local site knowledge that never appears in any book.
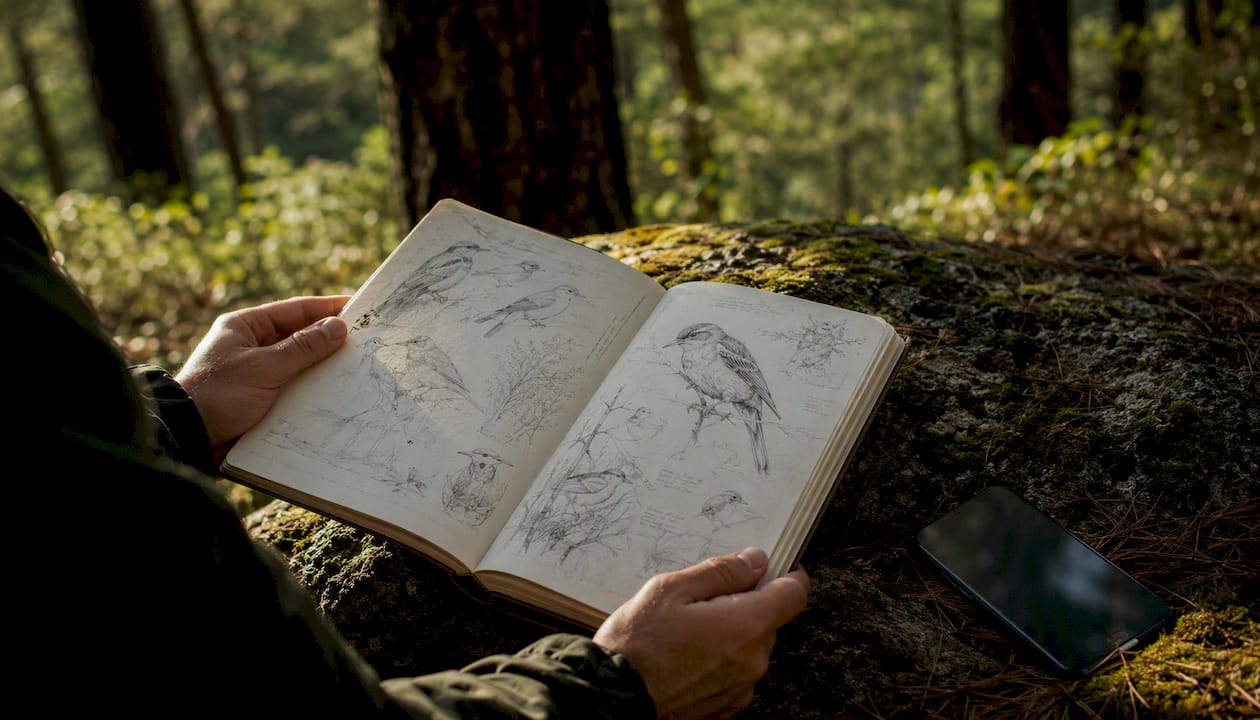
To find a group, check the RSPB’s local groups directory, the BTO’s network of regional contacts, or your county’s natural history society. Many groups run free or low-cost beginners’ walks from February through to October.
Recording your sightings contributes directly to conservation science. BirdTrack, run by the BTO, is the simplest entry point for UK records: log the species, the count, the location, and the date. eBird accepts the same information and gives you a personal life list and local hotspot maps in return. For sensitive species (breeding raptors, rare migrants), both platforms offer guidance on what to report publicly and what to keep private.
A practical starter sequence: attend one guided walk this month, borrow a pair of binoculars if you do not yet own one, and submit your first simple checklist on BirdTrack or eBird the same day.
What are the key ethics rules and common beginner mistakes?
Ethical birdwatching is straightforward in principle and occasionally forgotten in the excitement of a good sighting. BirdLife International and its national partners provide the governing framework; the core rules are consistent across the UK.
Dos and don’ts to keep in mind:
-
Do keep a respectful distance from nests and roosts, especially during the breeding season (roughly April–July).
-
Do follow site signage and seasonal path closures — they exist to protect ground-nesting birds.
-
Don’t use audio playback (playing recorded calls to attract birds) unless you are with an experienced guide who can judge the context; repeated playback near a nest can cause genuine harm.
-
Don’t chase, flush, or lamp-flash roosting birds for a better view.
-
Don’t share precise nest locations on public social media during the breeding season.
Common beginner mistakes are mostly about patience and over-confidence. Rushing through a site without pausing to listen means missing half the birds present. Misidentifying a species and logging it with certainty — rather than noting it as probable — skews your own records and, if submitted to a portal, potentially the wider dataset. Apps are tools, not authorities; treat their suggestions as a starting point for your own verification.
Feeder troubleshooting is a frequent early frustration. If birds avoid your feeder, check four things: placement (too exposed to cats or sparrowhawks?), food freshness (wet or mouldy seed is rejected immediately), feeder hygiene (clean with mild disinfectant monthly), and the food type (nyjer seed for goldfinches, sunflower hearts for most tits and finches, fat balls for long-tailed tits and woodpeckers).
On access: in England and Wales, you have a legal right to walk public footpaths and bridleways. Private land requires landowner permission. Scotland’s Land Reform Act gives broader access rights, but the same ethical principles apply everywhere.
A seven-day starter plan for absolute beginners
This plan requires no specialist equipment beyond a phone with Merlin installed. Binoculars help from Day 3 onward, but they are not essential for the first two days.
-
Day 1 — Listen before you look: Spend five minutes in your garden or near an open window with Merlin Sound ID running. Note how many distinct calls you hear. Do not try to identify them yet; simply count the voices.
-
Day 2 — Garden sit: Sit quietly for 15 minutes in a garden or park. Write down every bird you see, even if you only note “small brown bird on fence.” Size, behaviour, and location are enough for now.
-
Day 3 — First species study: Choose one common species (robin, blue tit, or blackbird) and spend your session watching only that bird. Note its feeding behaviour, posture, and calls.
-
Day 4 — Local park visit: Walk slowly for 20 minutes in a nearby park. Pause every few minutes to listen. Try to identify three species by sight using Merlin or Collins Bird Guide.
-
Day 5 — Sound focus: Return to the same park. This time, close your eyes for two minutes at each stop and listen before opening them. Notice how much more you hear when sight is removed.
-
Day 6 — Log your first checklist: Visit eBird or BirdTrack and submit a simple list from any of this week’s sessions. Include species, rough count, location, and duration.
-
Day 7 — Review and plan: Look back at your notes. How many species did you record? Which calls can you now recognise? Choose one new habitat to visit next week — a pond, a woodland edge, or a stretch of coast.
After seven days, a realistic expectation is 8–15 species recorded, two or three calls recognised with confidence, and a clear sense of which habitat you want to explore next. Progress is not linear, and misidentifications are part of the process.
For those staying at a countryside retreat such as Villa Sakis, the surrounding meadows, pine forest, and lake offer a natural extension of this plan. An evening listening session from the farmhouse grounds, or a slow morning walk through the forest edge, fits Days 4–6 of this schedule with no adaptation needed. The unhurried pace of a nature immersion retreat is, in many ways, the ideal environment for this kind of attentive, patient practice.
A quiet word on keeping going
The early weeks of birdwatching are full of half-seen shapes and uncertain identifications, and that uncertainty is not a sign that you are doing it wrong. Every experienced birder has a long list of birds they once confidently misidentified. The learning curve is real, but it is also genuinely enjoyable — each new recognition feels like a small, satisfying discovery.
Villa Sakis, set within the forests and meadows of the Swedish countryside, is a restorative place to slow down and let that learning happen at its own pace. The grounds and surrounding landscape offer the kind of quiet that makes birds easier to hear and easier to find. If you are looking for a place to ground yourself in nature while working through your first weeks of birdwatching, it is worth considering a stay there.
Try the seven-day plan. It costs nothing, takes less than two hours across the week, and by Day 7 you will have a species list, a favourite spot, and a reason to go back.
Ready to practise birdwatching somewhere genuinely quiet? Villa Sakis is an 18th-century Swedish log farmhouse surrounded by forest, meadows, and a private lake — the kind of place where birds arrive on their own terms and mornings feel unhurried. Book the whole house for your group and bring the binoculars.